I’ve been wearing a DIY closed loop for something like 979 days..which means something like ~20,000 hours with this technology. Additionally, I’m not the only one. At the time of writing this post (see the latest count here), there are (n=1)*369+ (and that’s an undercount just based on who’s told us they’re looping) other DIYers out there, so the community has an estimated 1,800,000+ hours of cumulative experience, too.
Suffice to say, we’ve all learned a lot about this technology and how hybrid closed loop makes a difference in life with diabetes.
I previously gave a talk almost two years ago to the Sports & Diabetes Group Northwest here in Seattle, talking about #DIYPS, how we closed the loop, and #OpenAPS. (And you can see a recent TEDX talk I gave on OpenAPS here.) That was a springboard for meeting some awesome individuals who became very early DIY loopers in the Seattle area. And one of them (who also wore a pancreas at HIS wedding :)) had suggested we do another talk for SDGNW to update on some of what we have learned since then. But unfortunately, he got called out of town for work and couldn’t join me for presenting, so I went solo (ish, because Scott also came and contributed). I used a new analogy, because I think there’s a lot to think about before choosing and using closed loop technology, whether it’s DIY or commercial, and wanted to write it up for sharing here.
First, some reminders for those familiar and some context for those who are not close to this technology. We’re talking about a hybrid closed loop, which is what I’m referring to when I say “artificial pancreas” or “AP” here. This type of technology makes small adjustments every few minutes to provide more or less insulin with the goal of keeping blood glucose (BG) levels in range. It’s complicated by the fact that insulin often peaks at 60-90 minutes…but food hits in ~15 minutes. So there’s often “catch up” being done with insulin to deal with food eaten previously, and also with hormones and other things that impact BGs that aren’t measurable. (This is also why it’s called hybrid, because for best outcomes people will still be doing some kind of meal announcement/bolus to deal with insulin timing.) As a result, even with pumps and CGMs, diabetes is still hard. A closed loop can do the needed math every five minutes, doesn’t go to sleep, and is very precise. It can respond more quickly (because it’s paying attention) than a human will in most situations, because we’re out living our lives/working/sleeping and not paying attention ONLY to diabetes. It’s not a cure, but it helps make living with diabetes better than it used to be.
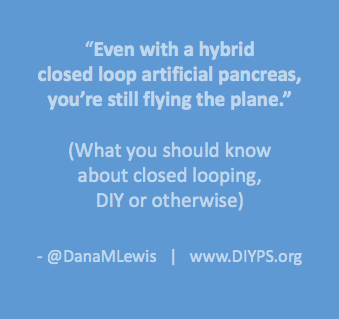
However, I equate it to being a pilot who has seen technology on planes evolve to include “autopilot”. Even with hybrid closed loop technology, we’re still flying the “plane”.
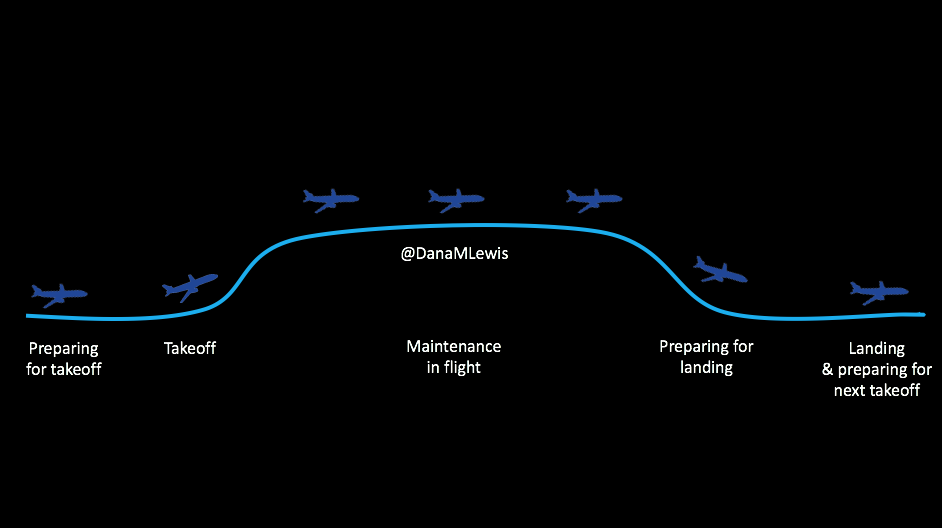
Here’s what I mean. There are stages for picking out and deciding to use the technology; preparing to use it/getting in the mode where you CAN use it; using it successfully; getting ready for the times when you can’t use it; and smoothing the way for the next time you use it.
It’s not perfect 24/7, you see, because we’re still using pump sites and continuous glucose monitor (CGM) sensors. The CGM sensor may last for 7 days, but then you have to change it out (or cough restart it cough), and you have a gap in data, which means you can’t loop. So you have this type of cycle regularly, and here’s what you need to know about each of these stages, regardless of whether we’re talking about DIY (like OpenAPS) or a commercial closed loop solution.
Preparing for takeoff
 When you’re getting into the plane, you have a flight plan. You know when you will and won’t use the technology on board. Same for diabetes & closed looping. Make sure to think about the following for your tech of choice:
When will your loop work? When does it not? What happens if it breaks? What are your back up tools? How do you operate it: what happens if your sensor loses data, or you don’t calibrate? How does the algorithm work? What will it target your BG to be? What behaviors will you have to do (meal bolus or announcement, etc.) and how can you alter those to optimize performance? Also, what are the warning signs of failure to let you know when you need to take additional action with corrective insulin or eating carbs?
Taking off and the new technology learning curve
 Just like switching from MDI pump (or even iPhone to Android and vice versa), you have a learning curve. When you go into looping or automated insulin delivery mode, you have to figure things out. You need to be able to figure out what’s happening and why it’s doing what it’s doing, so if you’re not happy with what’s happening, you can make a change. Why are you running high? Why are you running low? Knowing why it’s doing what it’s doing is critical for adjusting – either tweaking the closed loop settings, if you can, or adjusting your own behavior. Especially in the first few cycles of new tech, you’ll have a lot of learning around “I used to do things like X, but now I need to do them like Y.”
Why you might not be taking off and able to loop
 You also need to know why you can’t loop. There are three major categories of things that will prevent you from looping:
- No sensor, no looping.
- In some systems, wonky or missing data, no looping
- Communication errors between pieces of a system.
Some of these are obvious fixes (put in a new sensor if one fell out, or decide to put in a new sensor if the old one is bad), but depending on the system may involve some troubleshooting to get things going again.
Also, some of the commercial systems will kick you out of looping for various reasons (including lack of calibration), in addition to preventing you from looping in the first place without them, so knowing what these basic things are required for looping is useful to make sure you CAN automate.
Flying high: maintenance when you’re actually looping
 There are some critical behaviors required for looping. (After all, when flying, there’s always a pilot present in the cockpit..right?!)
Some of these are basic behaviors you’ll be used to if you’ve been wearing a pump and CGM previously: keeping pump sites changed so the insulin works, and changing and calibrating CGM sensors.
HOWEVER – many people who “stretch” their CGM sensors find that they don’t want to stretch their sensors as far, as the data degrades over time. You do you, but keep in mind this might change when you’re looping vs. not, because you’re relying on good data to operate the system.
That being said, in addition to good sensor life, calibration hygiene is critical. You don’t want to loop off of wonky data, but also some commercial systems will kick you out if your calibration is way off and/or if you miss a calibration. (Personal opinion on this is a big ugh, which is why no DIY system that I know of does this.)
But if you keep your sites and sensors in good condition, this is where life is good. You’re looping! It’s microadjusting and helping keep things in range. Yay! This means better sleep, more time in range, and feeling better all around.
However, you still have diabetes, you’re still in the plane, so you still need to keep an eye on things. Monitoring the system is important (to make sure you’re still in autopilot and don’t need to actually fly the plane manually), so make sure you know how you (and your loved ones) can monitor the system’s operation, and know what your backup alarms are in case of system failures.
Note: there are approximately eleventy bajillion ways to remote monitor in DIY systems, but even if you have a commercial system that comes pre-baked without remote monitoring… you can add a DIY solution for that. So don’t feel like if you have a commercial AP that you can never use anything DIY – you can totally mix and match!
Dealing with turbulence

What kind of airplane/flight analogy would this be without including turbulence?

Like the things that can prevent looping in the first place, there are things that can throw off your looping. I already mentioned wonky sensor data that may mean either a blip in your looping time, or may kick you off looping. Again, your sensor life and your calibration practices will likely change.
But the other big disturbance, so to speak, is around body sensitivity changes. You know all the ways it can happen: you’re getting sick, recovering from getting sick, getting ready for/or are on/or are right after your period, or have an adrenaline spike, or have hormones surging, or have a growth spurt, or just exercised, etc.
This is what makes diabetes oh so hard so often. But this is where different closed loop systems can help, so this is one area you should ask about when picking a system: how does it adjust and adapt to sensitivity changes, and on what time frame? (In the DIY world, we use a number of techniques with this, ranging from autosensitivity to adapt on a 24 hour rolling scale of sensitivity changes, as well as using autotune to track bigger picture trends and changes needed to underlying settings. Reminder – anyone can use autotune if they’re willing to log bolus & carb data in Nightscout, not just closed loopers, so check that out if you’re interested! All DIY closed loop systems also use dynamic carbohydrate absorption in their respective algorithms, so that if you have slowed digestion for ANY reason, ranging from gastroparesis to getting glutened if you have celiac to merely walking after a meal, the system takes that into account and adjusts accordingly.)
The other things that can help you tough out some turbulence? Setting different modes, like an activity mode for exercise. The two things to know about exercise are:
- You don’t want to go into exercise with a bucket of IOB, so set activity mode WELL BEFORE you go out for activity. Depending on how much netIOB you have, that time may vary, but planning ahead with an activity mode makes a big difference for not going low during activity – even with a closed loop.
- Your sensitivity may be impacted for hours afterward, into the next day. See above about having a system that can respond to sensitivity changes like that, but also think about having multiple targets you can use temporarily (if your system allows it) so you can give the system a bigger buffer while it sorts out your body’s sensitivity changes.
Preparing for landing and making time between loops more smooth
 Just like you’ll want to plan to go on the closed loop, you’ll want to plan for how to cycle off and then back on again. Depending on your system, there may be things you can do to smooth things out. One of the things I do is pre-soak a CGM sensor to skip the first day jumpy numbers. That makes a big difference for the first hours back on a “new” looping session. The other thing I do is stagger receiver start times (where I have two receivers that I stop/start at different times, so I’m not stuck for two hours without BG data to loop on).
But even if you can’t do that, you can do some other general planning ahead – like making sure your looping session doesn’t end in the middle of a big meal that’s being digested, or overnight. Those are the times when you’ll want to be looping the most.
Landing and preparing for the next looping session
 Just like learning to fly where you take a lot of training flights and review how the flight went, you’ll want to think about how things went and what you might change behavior-wise for your next looping session. Some of the things that may change over time as you learn more about your tech of choice:
- Timing of meal announcement or boluses
- Precision (if needed, or otherwise lack thereof) around carb counting
- Using things like “eating soon” mode to optimize meal-time insulin effectiveness and reduce post-meal spikes
- Using different activity patterns and targets to get ideal outcomes around exercise
- Tweaking underlying settings (if you can)
General thoughts on looping
 Some last thoughts about closed looping in general, regardless of the tech you might choose now or in the future:
- Picking one kind of technology does NOT lock you into it forever. If you’re DIYing now, you can choose commercial later. If you start on a commercial system, you can still try a DIY system.
- Don’t compare the original iPhone with an iPhone 6. Let’s be blunt: the Dexcom 7plus is a different beast than the Dexcom G4/G5. Similarly, Medtronic’s original “harpoon” sensor is different than their newest sensor tech. The Abbott Navigator is different than their Libre. Don’t be held up by perceptions of the old tech – make sure to check out the new stuff with a somewhat open mind.
- (Similarly, hopefully, in the future we’ll get to say the same about first-generation devices and algorithms. These things in commercial systems should change over time in terms of algorithm capabilities, targets, features, and usability. They certainly have in DIY – we’ve gotten smaller pancreases, algorithm improvements, all kinds of interoperability integration, etc.)
- All systems (both DIY and commercial) have pros and cons. They also each will have their own learning curves. Some of that learning is generalized, and will translate between systems. But again, iPhone to Android or vice versa – your cheese gets moved and there will be learning to do if you switch systems.
- Remember, everyone learns differently – and everyone’s diabetes is different. Figure out what works well for you, and rock it!
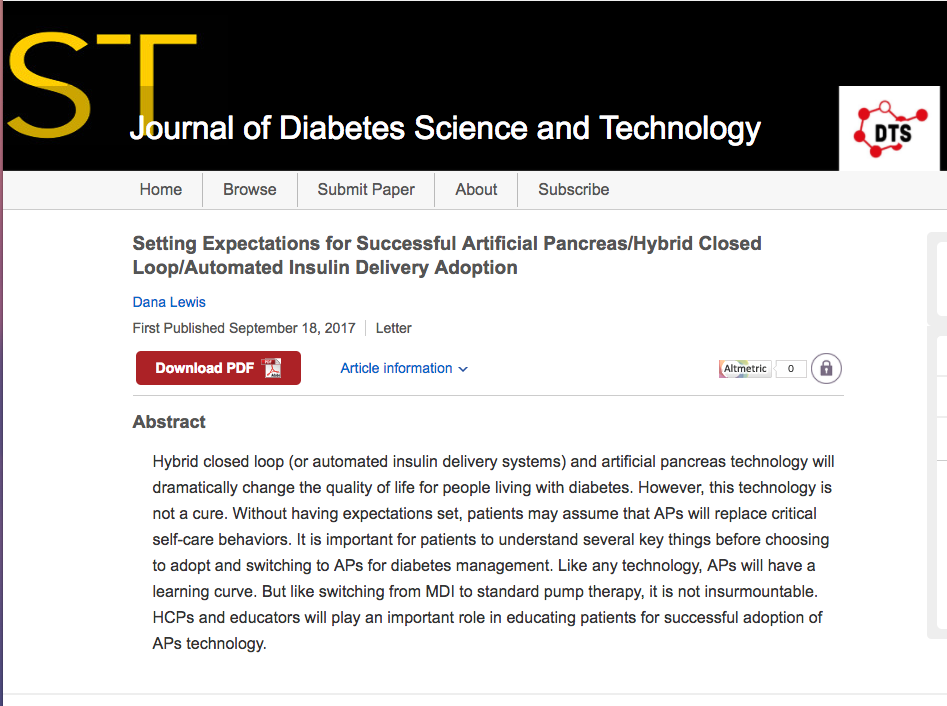 I’ve published a few times in academic journals. Last year, Scott and I published another Letter to the Editor in JDST with the OpenAPS outcomes study we had presented at the 2016 ADA Scientific Sessions conference.
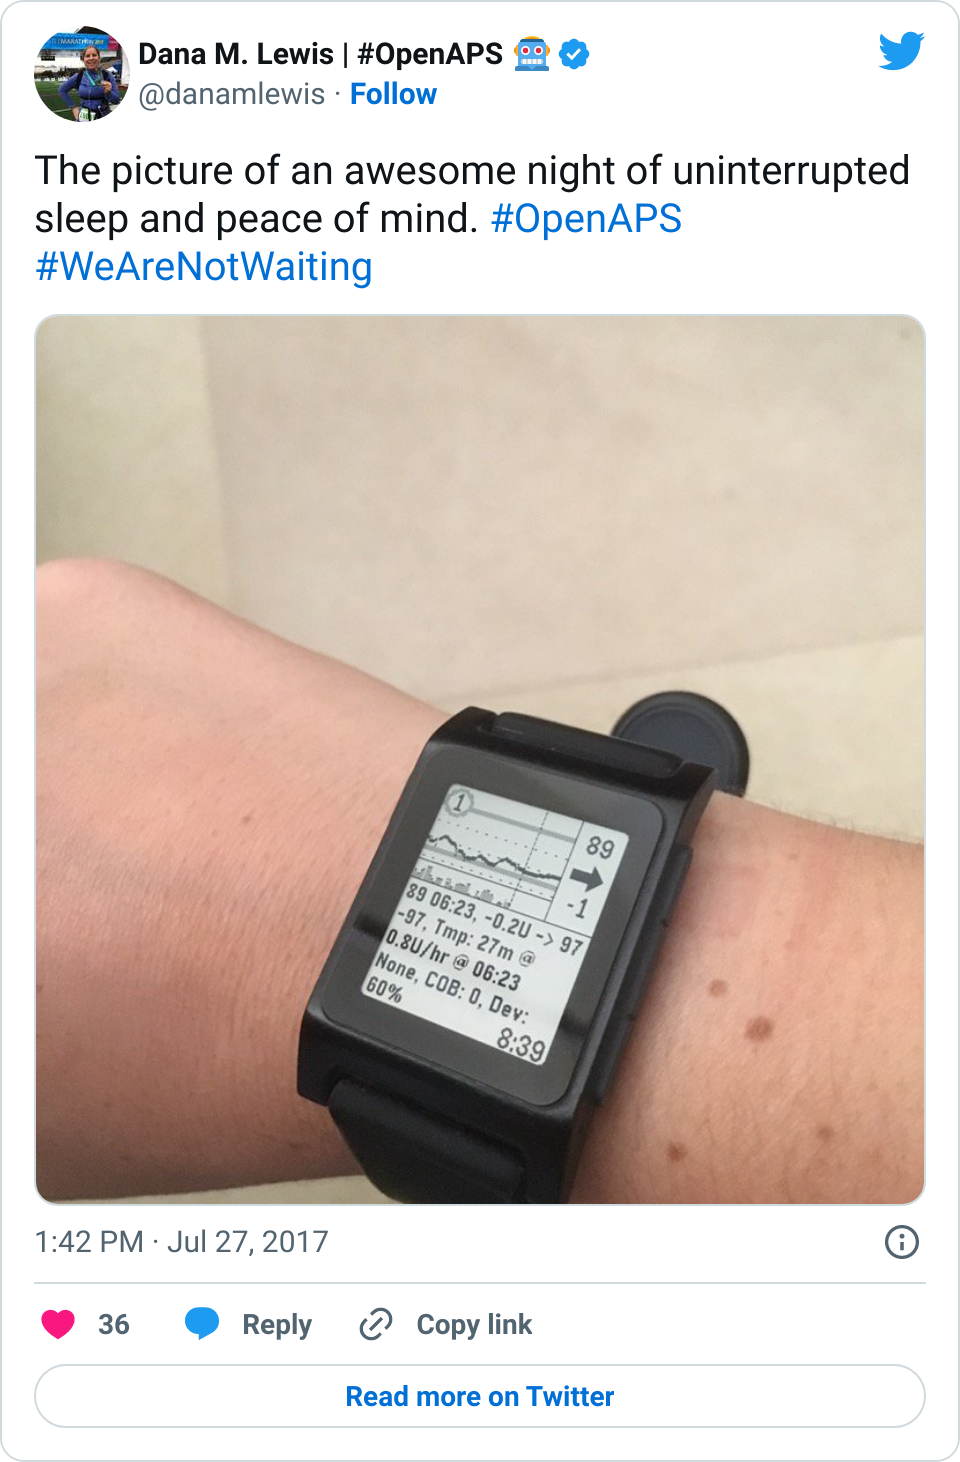


Recent Comments