Having used a CGM for years (and years and years, and years before that), and having chosen to build a DIY system that provides smart alerts and recommendations based on said CGM data (learn more about my #DIYPS system here) and ultimately using CGM data to build the open source closed loop system that automates insulin delivery (find out more about #OpenAPS here)…I’ve learned a few things about how to get the best data out of my sensors. Currently, I’m using Dexcom, so this applies to the Dexcom sensors.
The biggest thing I do to get better first day results from a continuous glucose monitor (CGM) sensor is to “soak” my sensors. Here’s what I mean by this:
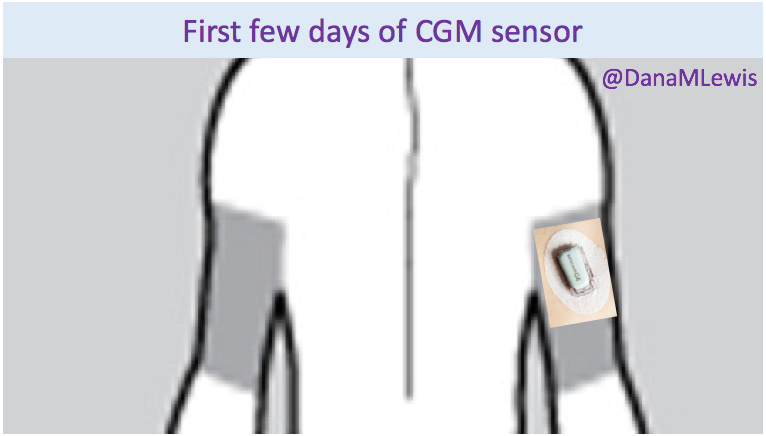
Normally, you’d expect to see a person with one CGM sensor on their body, like this:
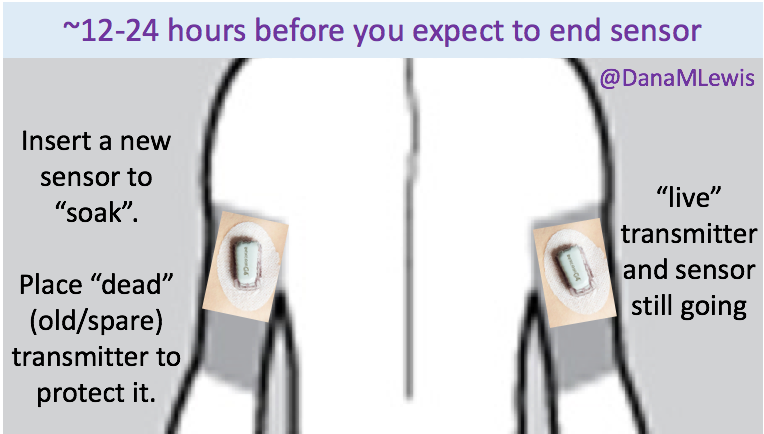
 However, 12-24 hours before I expect my sensor to end, I insert my next sensor into my body. To protect the sensor (you don’t want the sensor filament itself to get torn off or lost in your body), I plop an old (“dead” battery) transmitter on it.
If you don’t have an old/dead transmitter, you could try taping over it – the goal is just to protect the sensor filament from ripping.
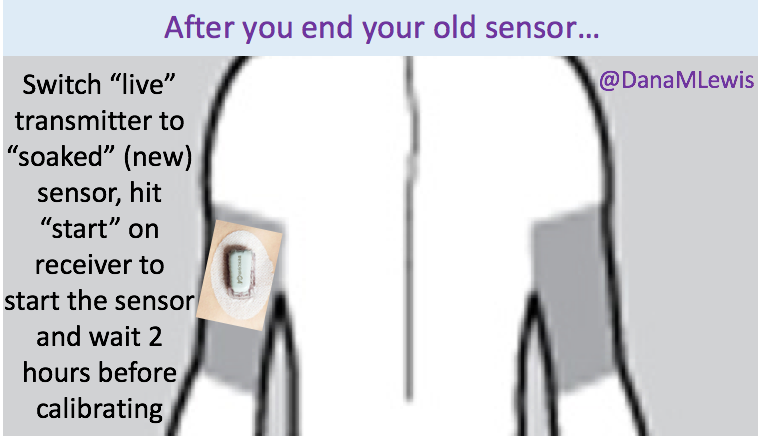
 The next day, when my sensor session ends:
- I take the “live” transmitter off the old sensor, and remove the old sensor from my body. I hit “stop sensor” on my receiver, if it hasn’t already stopped itself.
- I gently remove the “dead”/old transmitter from ‘new’ sensor.
- I then stick the “live” transmitter onto the new sensor.
- I hit “start sensor” on my receiver.
 The outcome (for me) has always been significantly improved “first day” BG readings from the sensor. This works great when you can plan ahead and your outfits (don’t judge, sometimes you have important outfits like a wedding dress to plan around) and skin real estate support two sites on your body for 24 hours or so. This doesn’t work if you rip a sensor out by accident, so in those scenarios I go ahead and put a new sensor on, put the ‘live’ transmitter on, and hit ‘start’ to get through the 2 hour calibration period as soon as possible to get back to having live data. (All the while knowing that the first day is going to be more “meh” than it would be otherwise.)
Thank you very much for sharing your experience with the rest of the world. One question: Doesn’t this day of ‘waiting’ consume a day’s worth of the sensor’s life? I see no difference of whether the transmitter is connected or not.
Thank you again,
Bernard
Yes and no. Yes, the sensor eventually gets inaccurate, and that happens based on the insertion time, not the transmitter swap time. But no, we’re not throwing away a “good day” of data: the reason to soak is that the first day’s data is otherwise worse than (say) day 14. So if you would normally restart the sensor once, you can use days 1-15 instead of 0-14, and get the same total runtime with less noise and better accuracy.
I’m not sure about the “dead transmitter”strategy. The sensor seems to hold perfectly fine without a transmitter on top. Did you ever try it without it?
The dead transmitter is intended to protect the sensor from catching on things, and possibly breaking off. If it doesn’t get caught on anything, I wouldn’t expect any problems, so if you are careful with it, you could skip the dead transmitter. But there doesn’t seem to be any downside to using one, so I’m not sure why you wouldn’t want to, unless you simply don’t have one.
Hi, we tried the “soaking” method and although it was successful we’re having a very hard time removing the dead transmitter from the new sensor in order to put in the working transmitter. Any tips on easy removal of transmitter from sensor without removing sensor?
There are two clear plastic “arms” on the side of the sensor that clip over the “wings” of the transmitter. You’ll need to pull those away from the transmitter (parallel to the skin) until they clear the transmitter wings, and at that point you should be able to pull the transmitter off the sensor.
Thank you !
Thank you for this really effective strategy! I find even 4 hours of soaking the new sensor gives me MUCH more accurate readings on Day 1 after activation.
As for protecting the brand new sensor during that 4 hour window before transferring the transmitter into it, I simply cover it with a piece of Tegaderm tape and just pull it off carefully when it’s time to put the transmitter in. And I found I couldn’t remove an old transmitter without damaging or at least weakening the frame of the sensor (that the transmitter sits in).
I have been searching for information on how to do this and this has been a very helpful article – thank you so much!